Here's some shots of my DIY Undergravel Jet System.
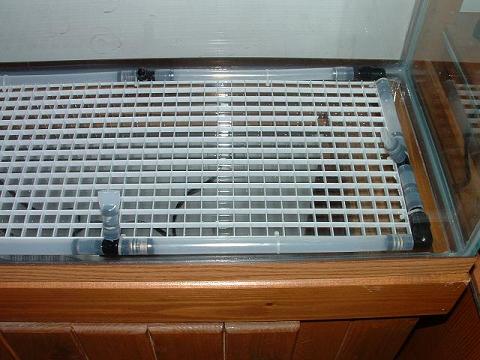
1. The first shot is the basic layout showing the closed loop system. I used a semi rigid .50" ID tubing I found at the local hardware store, and standard 1/2" fittings I found in the home irrigation department. I made a barb to barb elbow by using a barb to threaded elbow and a straight barb. The straight barb is just pressed in the inside of the threaded end. This allowed me to connect the tubing the same way all the way around. I then attached the entire setup to a peice of eggcrate cut to fit inside the tubing. This will help hold everything in place and provide a safe and sturdy base for my large rocks.
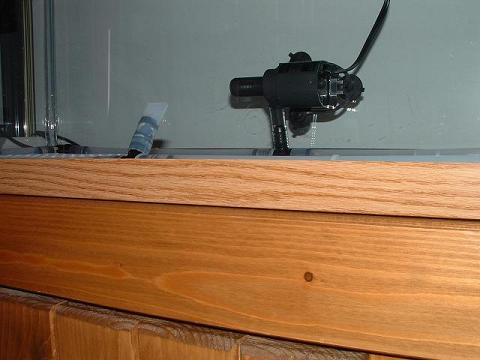
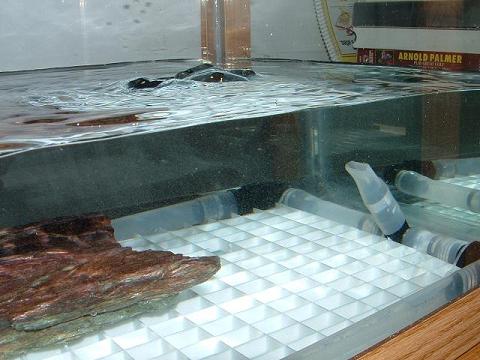
2. Next we have a shot from the same level as the bottom of the tank to illustrate how low it stays in the tank. If I use 1.5" of substrate it will only leave .25" of nozzle exposed above the surface.
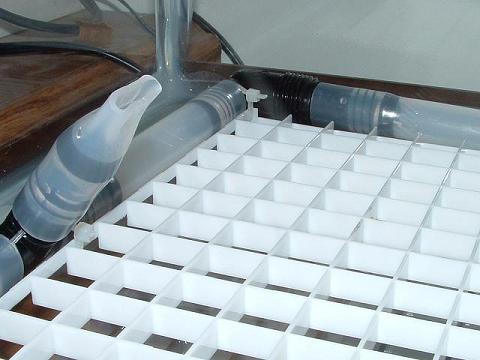
3. The jet nozzle was made from some of the semi rigid plastic tubing I used for the main plumbing. I heated a short section in boiling water then squeezed the end with a pliers and cooled it under running water.
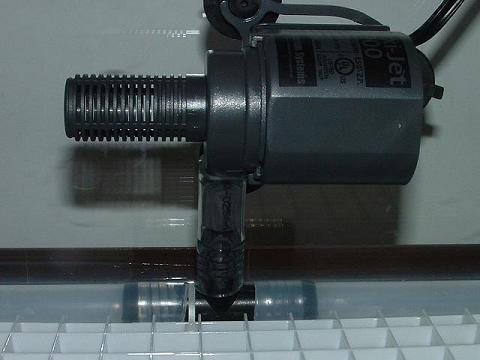
4. Next is the pump connection. I used a Maxi-Jet 900 pump which has a 1/2" OD outlet nozzle which fit perfectly into the tubing. A foam filter will eventually be placed on the intake grid of the pump and will add to my bio filtration.
5. I finished up with a flow test and as you can see there is adequate flow from the jets. Once I filled the tank completely there was a nice gentle, natural feeling current throughout the tank.
6. Total cost: $20 for the powerhead, $12 for tubing & fittings, $9 for the eggcrate.


