Tank Re-sealing 101

The Zigman

Here fishy fishy fishy!!!
Oct 5, 2007
5,249
7
62
Near Chicago, Il.
www.uglymuggs.com
Ok I picked up a few... ok 8 tanks from craigslist, most of which were free...
Several needed to be resealed, and all needed a good cleaning. Thought I would show a quickie tutorial in tank re-sealing...

So here we go...


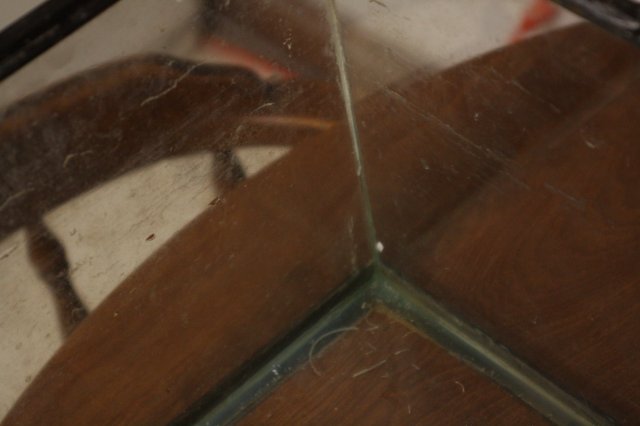
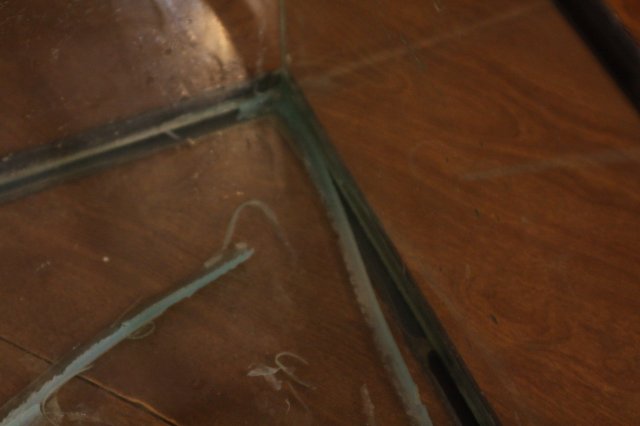
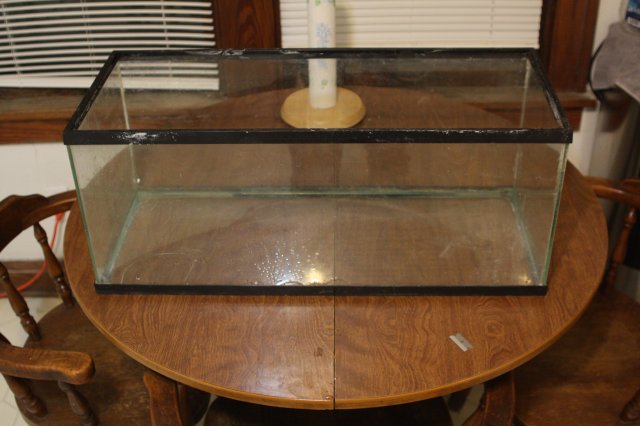
here's the victim, er I mean patient, a 20 gal long, all glass tank...
I have already washed out the cat hair and stench outside, and rinsed it out...

Most of the silicone was scratched out of the corners by whatever lived in there before..
IMG_2813.JPG IMG_2814.JPG
 
Removing the old silicone

This is one of the most crucial steps...

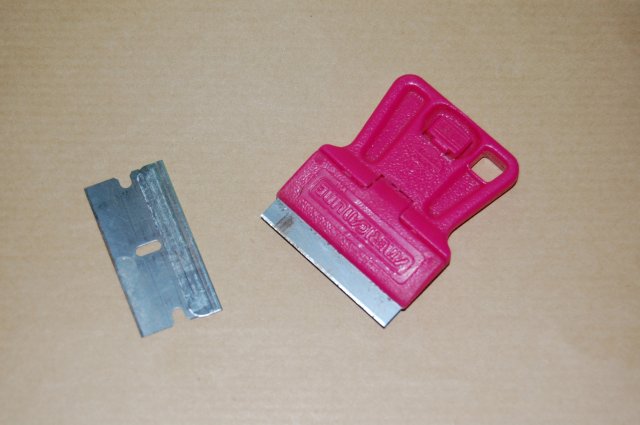
Using a razor blade, I scraped out all the old silicone. Its pretty easy if you use a flexable blade so you can cut the seal out along the 2 adjacent sides...

be sure to get it all off. and all the tiny bits too...

then I cleaned the surfaces with 97% alcohol from the drug store.. Sorry, no pix..

IMG_2815.JPG IMG_2816.JPG IMG_2817.JPG IMG_2818.JPG IMG_2819.JPG IMG_2820.JPG IMG_2821.JPG
 
Cleaning the tank

After I removed the old silicone, i took it to the bathtub, and cleaned it with.... You ready?? Tub & tile cleaner.. Yeah its toxic, and will bleach the color out of anything, but all you have to do is a final wash to remove any residue left behind, proper cleaning makes this not a big deal..

I rinsed it out, and scrubbed it with some hand soap, and water, rinsed it with the shower, and let it dry in the tub overnight...
 
Last edited:
Sealing the tank..

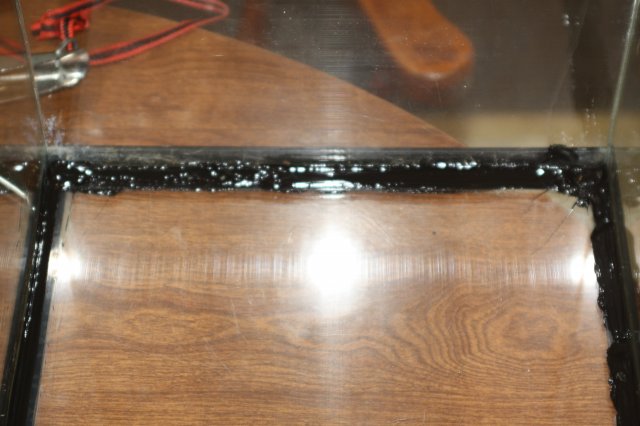
Ok Now the tank is dry and clean, so next I sealed it up with some black silicone..

Why Black? Because I had it laying around, and I am on a low budget, why else would I re seal a $30 tank?? be sure to use 100% silicone, without any mold inhibitors, or other additives...
I bought this to seal the exterior of a cargo trailer, and was sure I would be able to use it to seal some tanks...

anyway, first I seal the bottom, and then the sides..
I dont fool around with masking the sides off, and all that because I am pretty good with a caulking gun, but if you arent, the mask off the sides with some blue tape, just leaving enough bare glass for the new silicone..

the bottom is not easy to seal since there is not enough room for the caulking gun, but it dont have to be pretty to make a good seal..

IMG_2823.JPG IMG_2824.JPG
 
Last edited:
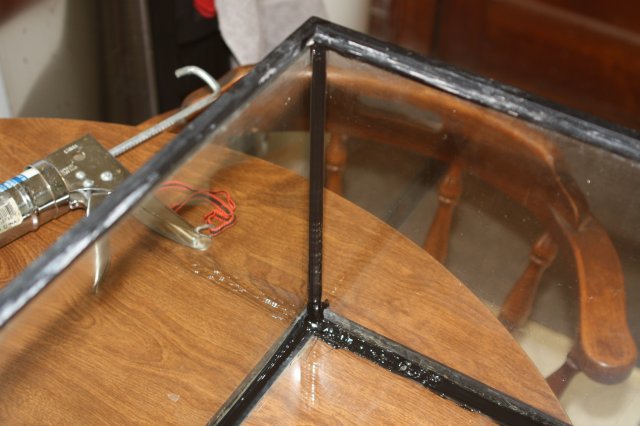
Then seal the sides...

Then seal up the sides and corners, while the bottom silicone is still wet..

be sure to get a small blob in the bottom corners to get a good seal there, then run the gun from the bottom up...


Now let the silicone cure for a day or 2, and test for leaks, then you are good to go!

IMG_2825.JPG IMG_2826.JPG IMG_2827.JPG
 
nope. if you cut the tip right, it makes a nice triangular seal...
no need to smear it around...


this tanks will soon have a black background, and black sand, or gravel too..
 
Last edited:
Nicely done zigman.

I would like to add that taping around the tank with masking tape gives a neater finish, rembering to leave enough of a gap to make a good seal and remove before the silicone starts to get a skin.
Also i use one of these when re-sealing tanks, it a lot easier on your fingers.

DSC_2355.JPG
 
yeah I mentioned the tape thing...
Would have used a blade holder, if I could find it!!

my silicone is alot smoother than it looks in the pictures, maybe after it skins over, and is less shiny, I'll take a better picture..
 
Your great tutorial couldn't have more perfect timing timing for me as tomorrow morning I will be doing my 225 tanks, thanks!:hypnotized:

For my 27 feet of bead work tomorrow Im planing to lay out my three 10oz caulking gun tubes pre-cut and punctured with nails in the tip. The aquarium will be tilted at a 30 degree angle and I will start with 1/2 side of the bottom lay a fat index finger size bead covering both bottom ends, one entire side and 1 inch up 2 vertical corners and then tablespoon that portion into the corner. Then lower and raise the tank on its opposite side edge 30 degrees and switching out silicone tubes, bead the other entire side, and 1 inch up the other 2 vertical ends.

At that point I will stop briefly ( a few seconds) as this is where the inside silicone job normally stops and does not include the corners on most modern aquariums. I will quickly assess my remaining materials, my work so far and conditions.

Then I will either go for it or leave it as is. If I go for it I will lay 1 vertical bead in 2 of the four vertical side seams the size of slim drinking straw, spoon them once away from the lower fat bead then once amine tilt the aquarium to its other side 30 degrees and repeat and then collapse.
:thud:
 
AquariaCentral.com